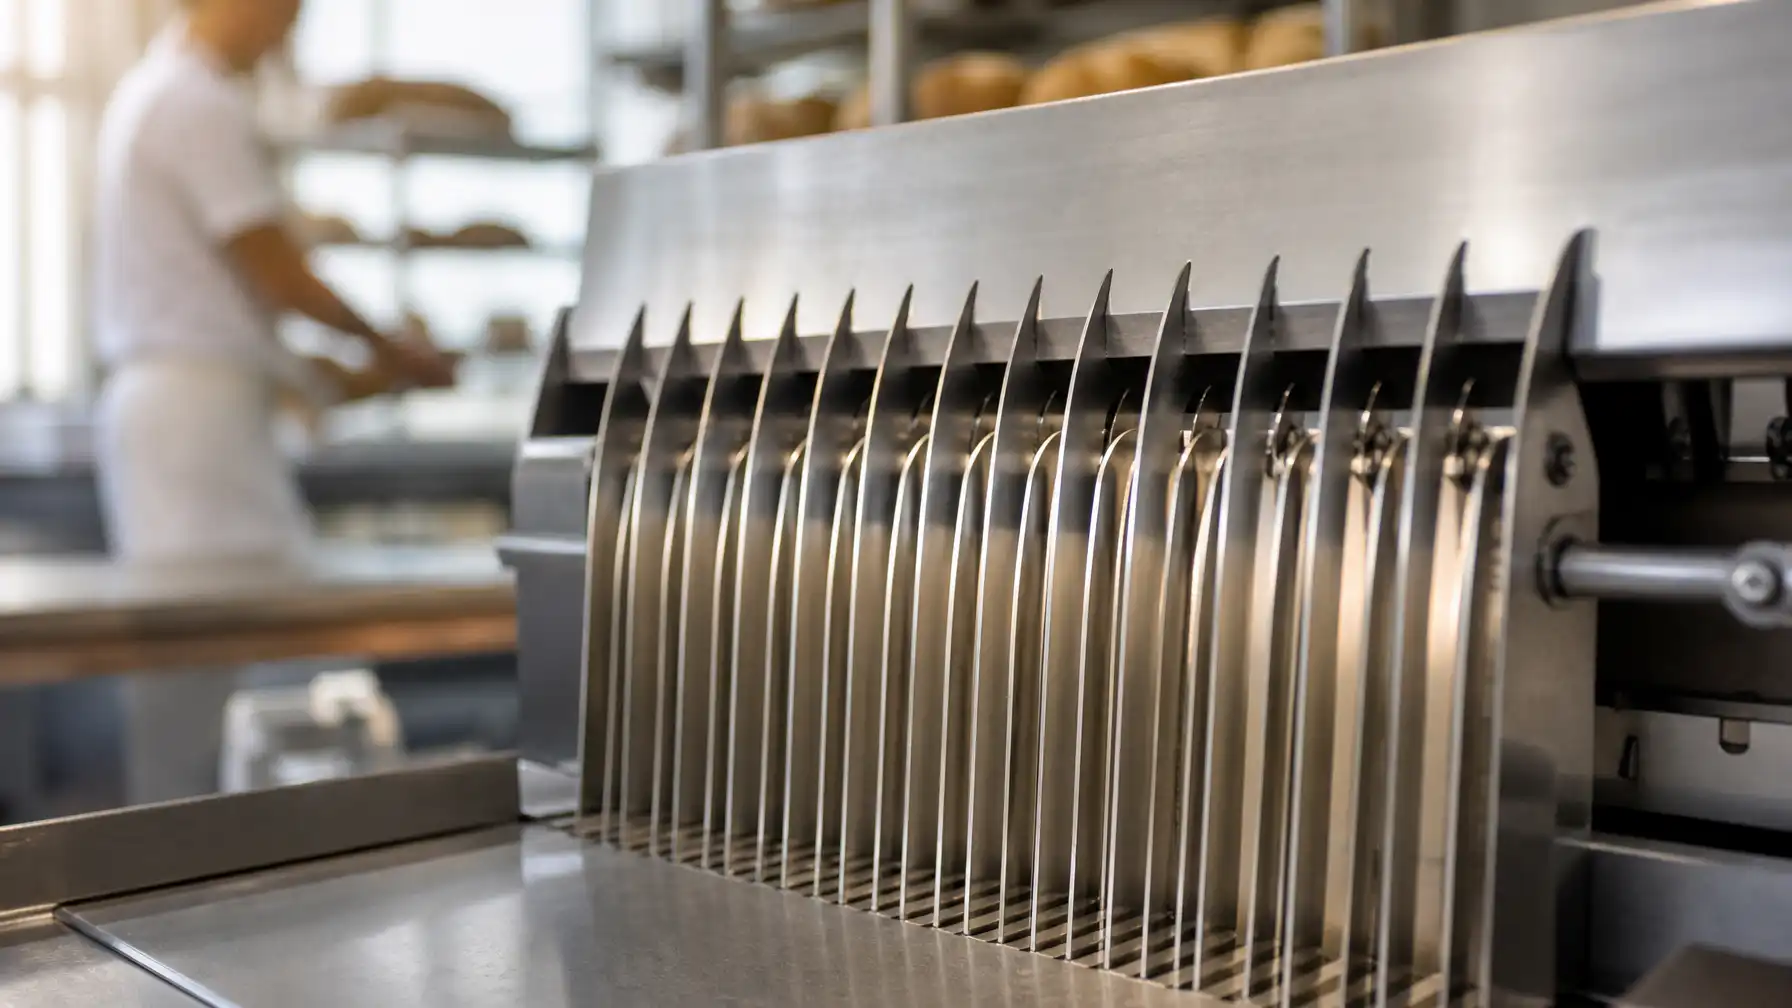
Blade condition is one of the most overlooked variables in commercial bread slicing. Operators focus on the machine — its motor, its guides, its alignment — but the blades themselves are what make or break slice quality. A bread slicer running worn blades produces torn loaves, inconsistent thickness, excessive crumbing, and hygiene risk. For bakeries selling sliced bread, this is a direct hit to product quality and customer satisfaction.
This guide covers everything you need to know about maintaining and replacing commercial bread slicer blades in a South African context: from daily cleaning procedures to sourcing replacement blades locally.
Why Blade Condition Matters in a Commercial Bakery
In a high-output bakery environment, a bread slicer runs for hours every day. The blades pass through dozens — sometimes hundreds — of loaves per shift, and each pass causes microscopic wear on the cutting edge. Over time, that wear accumulates into visible degradation.
The consequences of running dull or damaged blades are not cosmetic:
- Product quality suffers. Torn slices look unprofessional and damage your brand, particularly for bakeries supplying to retail or hospitality customers.
- Crumb volume increases. Dull blades drag rather than cut, producing far more crumb than a sharp edge. Excess crumb creates hygiene risk and increases waste.
- Consistent slice thickness is compromised. Worn blades flex under resistance, causing slices to vary in thickness across the loaf.
- Machine strain increases. When blades are dull, the motor works harder to drive them through the loaf. This accelerates wear on other components and increases power consumption.
- Hygiene compliance is at risk. Pitted, corroded, or damaged blade surfaces harbour bacteria and are difficult to sanitise effectively — a critical consideration under South Africa's food safety regulations.
The bakery equipment you invest in performs only as well as the consumables you maintain. Blades are a consumable.
How to Identify When Blades Need Replacing
Blade condition degrades gradually, which makes it easy to overlook. Set a scheduled inspection into your maintenance calendar and look for these specific indicators:
Tearing Rather Than Slicing
The clearest sign of blade wear is the nature of the cut. A sharp blade produces a clean, even face on the slice. A dull blade tears the crumb structure, leaving a ragged, irregular surface. If your slices look pulled rather than cut, the blades need attention.
Uneven Slice Thickness
Run a loaf through the machine and measure slices at the front, middle, and back of the loaf. Variation greater than 1–2mm across the set indicates blade flex — usually caused by wear or damage that has compromised blade rigidity.
Visible Nicks, Pitting, or Corrosion
Inspect each blade under good lighting. Nicks in the cutting edge are typically caused by contact with hard foreign objects (a stone, a piece of metal, a bone fragment in specialty loaves). Pitting and surface corrosion indicate inadequate cleaning and drying. Either condition warrants immediate replacement.
Increased Crumb Volume
If you notice a marked increase in crumb volume in the collection tray and around the machine, this is a reliable indicator of blade degradation even before visible damage appears.
Resistance or Stalling During Operation
A slicer that strains, stalls, or requires more than normal force to push a loaf through is operating with insufficient cutting efficiency. This is both a blade issue and a potential motor-load warning.
Step-by-Step Blade Replacement Guide
Step 1: Power Down and Isolate the Machine
Switch the machine off at the wall and disconnect power. Never attempt blade removal on a powered or plugged-in machine. This applies even for a quick inspection.
Step 2: Access the Blade Frame
Open the blade guard according to the manufacturer's instructions. Most commercial bread slicers — including models from brands commonly available in South Africa — use a hinged guard or removable side panel. Refer to your machine's technical manual for the specific procedure.
Step 3: Remove Blades Safely
Wear cut-resistant gloves throughout this process. Blades are held under tension via the frame assembly. Release tension according to the manufacturer's procedure before attempting removal. Handle each blade by the spine, never by the cutting edge.
Step 4: Inspect the Blade Frame and Guides
With blades removed, inspect the nylon guides, tensioning mechanism, and frame condition. Worn nylon guides cause blade drift and contribute to uneven slicing even with new blades. Food preparation equipment maintenance always includes the full assembly, not just the consumable components.
Step 5: Install New Blades
Insert replacement blades individually, ensuring each seats correctly in the guide channels. Apply tension according to the manufacturer's specification — over-tensioning stresses the frame; under-tensioning causes blade flex and poor cut quality.
Step 6: Test Before Full Operation
Run an initial test loaf before resuming full production. Inspect slice quality, measure thickness consistency, and check that all blades track correctly through the loaf.
Cleaning Procedures for Bread Slicer Blades
Cleaning is the most important factor in blade longevity. Bread residue and moisture are the primary causes of corrosion and bacterial buildup on blade surfaces.
Daily Cleaning
- Power down and disconnect after each production run.
- Remove visible crumb and residue from blades using a dry, stiff-bristle brush. Brush parallel to the blade edge, not across it.
- Wipe each blade surface with a food-safe sanitiser solution using a cloth — do not spray directly onto the blade assembly.
- Dry thoroughly. Moisture left on stainless steel in South Africa's humid coastal environments — Cape Town, Durban — accelerates surface corrosion even on food-grade stainless.
Weekly Deep Clean
- Remove blades from the frame and clean individually.
- Soak in a food-safe sanitiser solution for the manufacturer-recommended time.
- Rinse with clean water and dry completely before reinstallation.
- Clean the blade frame, guides, and collection tray.
What to Avoid
- Abrasive pads or steel wool — these scratch the blade surface and create micro-crevices for bacteria.
- Chlorine-based cleaners left in prolonged contact with stainless steel — this causes pitting corrosion.
- Air-drying without wiping — water pooling on blades accelerates staining and corrosion.
Recommended Maintenance Intervals
| Component | Maintenance Action | Frequency |
|---|---|---|
| Blades | Visual inspection | Daily |
| Blades | Full deep clean | Weekly |
| Blades | Replacement (high volume) | Every 3–6 months |
| Blades | Replacement (medium volume) | Every 6–12 months |
| Nylon guides | Inspection | Monthly |
| Nylon guides | Replacement | As required |
| Tensioning mechanism | Inspection and lubrication | Quarterly |
| Blade frame | Full inspection | Bi-annually |
High-volume bakeries producing 200+ loaves per day should inspect blades more frequently and replace on a fixed schedule rather than waiting for visible degradation.
Blade Storage and Handling
Replacement blades in storage require the same care as installed blades.
- Store flat on a clean, dry surface — never stacked directly on top of each other without protective sleeves.
- Use blade sleeves or purpose-made storage rolls to protect cutting edges.
- Keep storage away from damp environments.
- Label blades with their installation date to manage rotation.
Sourcing Replacement Blades in South Africa
Sourcing quality replacement blades locally is simpler than many operators assume. Common commercial bread slicers sold in South Africa — including Gatto models — use blades with standardised dimensions (commonly 300mm x 11mm for the Gatto CS-Q series). Always verify the blade dimension and machine compatibility before ordering.
The Cater-Ring stocks and supplies bakery equipment and can advise on compatible replacement components for the machines we supply. If you are unsure which blade your machine uses, have your machine's model number ready when you contact us.
Our consulting services team can also assist new and existing bakery operators with equipment selection, preventive maintenance scheduling, and setup advice.
Frequently Asked Questions
How often should I replace commercial bread slicer blades?
Replacement frequency depends on production volume and bread type. High-volume bakeries running 200 or more loaves per day should plan for replacement every three to six months. Medium-volume operations can typically extend this to six to twelve months with proper daily cleaning and maintenance. Denser bread varieties — rye, seed loaves, sourdough — wear blades faster than standard white bread.
Can I sharpen bread slicer blades rather than replace them?
Most commercial bread slicer blades are manufactured from hardened stainless steel and are designed as replaceable rather than resharpenable components. Sharpening is technically possible but requires specialist equipment and precise edge geometry to restore the original cutting angle. For most South African bakery operations, replacement is more cost-effective and reliable than sharpening.
What causes bread slicer blades to corrode?
Corrosion on stainless steel bread slicer blades is almost always caused by inadequate cleaning and drying. Bread residue is organic matter that retains moisture and promotes bacterial and fungal growth, which degrades the blade surface over time. Coastal bakeries in South Africa face an additional challenge from salt air humidity. Daily cleaning and thorough drying after every production run eliminate this risk.
Are bread slicer blades food-safe?
Quality commercial bread slicer blades are manufactured from food-grade stainless steel, typically grade 304 or 420. This material is corrosion-resistant and non-reactive with food. However, blades that are cracked, deeply pitted, or badly corroded are no longer considered food-safe and should be replaced immediately. If you are purchasing replacement blades, confirm the steel grade with the supplier.
What should I do if a blade cracks during operation?
Switch the machine off immediately. Do not attempt to remove broken blade fragments without cut-resistant gloves and full power isolation. Inspect the blade frame and guides for damage caused by the fracture. Do not run the machine again until all blade fragments have been accounted for and any damaged components replaced. A cracked blade typically results from metal fatigue (age) or impact with a hard foreign object.